Run Flutter Widget Tests as Integration Tests
 Christian Findlay
December 18, 2021
3 min read
Christian Findlay
December 18, 2021
3 min read

Key Takeaways: Create shared test functions callable from both widget tests and integration tests. Add
integration_testto your pubspec. Copy widget tests to theintegration_testfolder. Refactor common test logic into a shared file. Run on real devices viaflutter test integration_test.
Automated testing in Flutter is easy and remains one of the flutter testing best practices in 2026. The Flutter team built it into the framework from the ground up. They call it integration testing, but non-flutter developers would refer to it as automated testing. You can run integration tests on several platforms and in pipelines such as GitHub Actions. You might already be familiar with widget testing. Widget testing is the headless version of integration tests and gives you the same toolset, but without being able to see the actual UI. This article steps you through the process of running widget tests as integration tests. Take some time to read about Flutter Testing - particularly Widget Testing, before you step through this guide.
This article uses Visual Studio code and I recommend this IDE for Flutter, but you can do it with any IDE or with the terminal
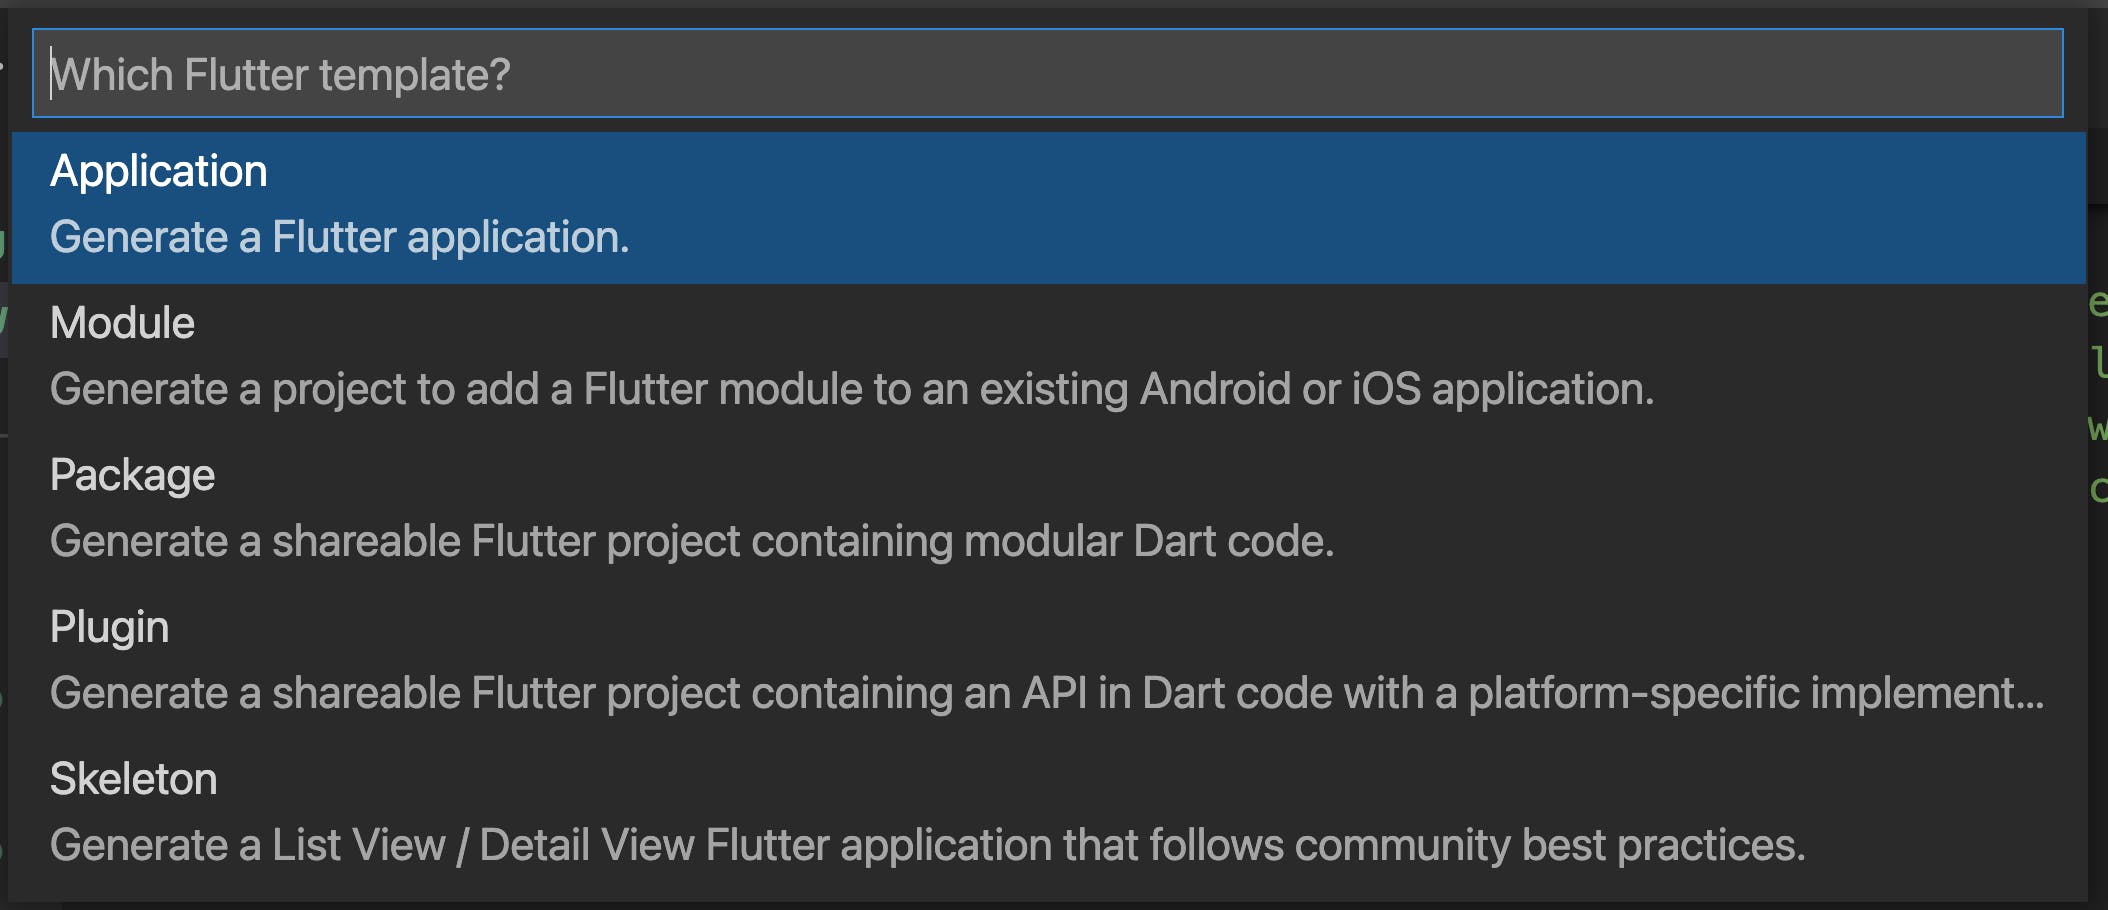
1. Create the App
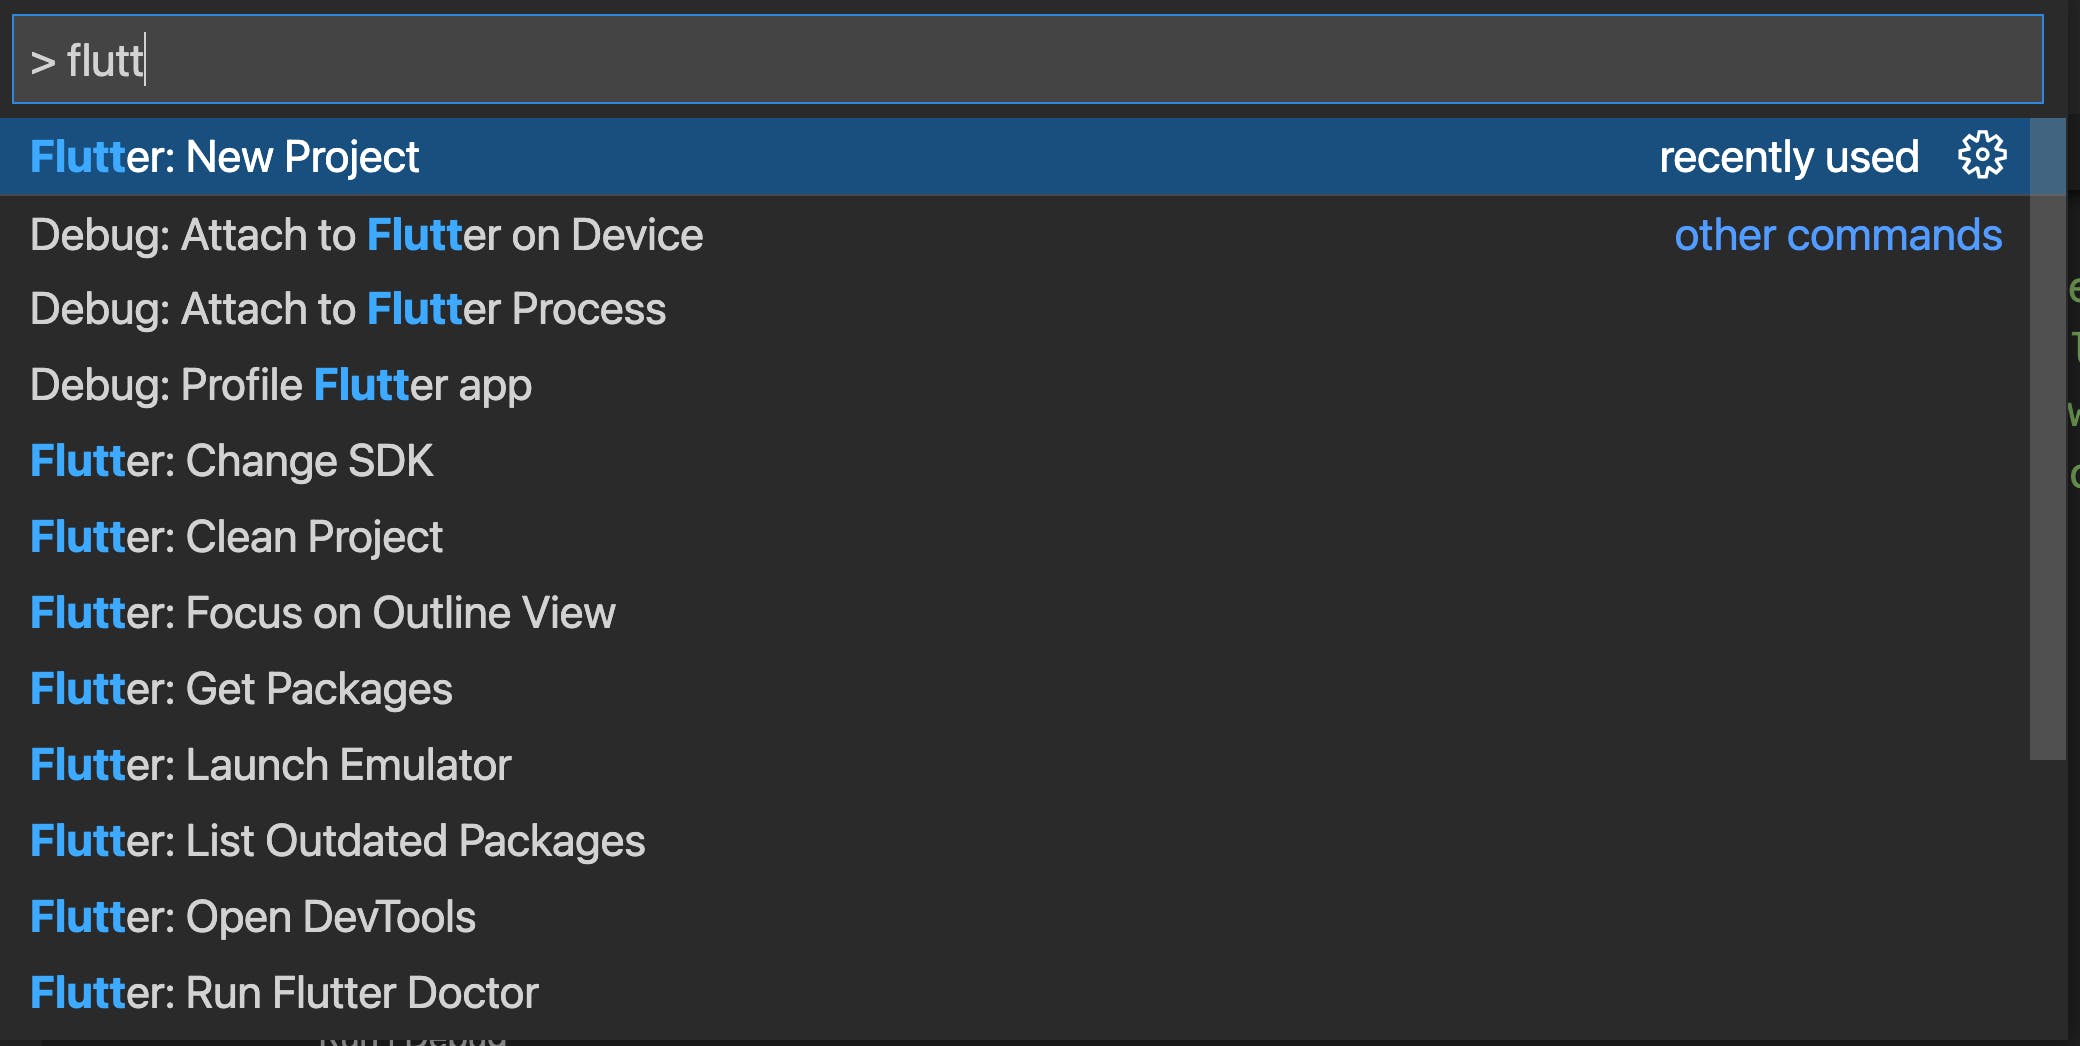
This template creates a minimal app with a widget test
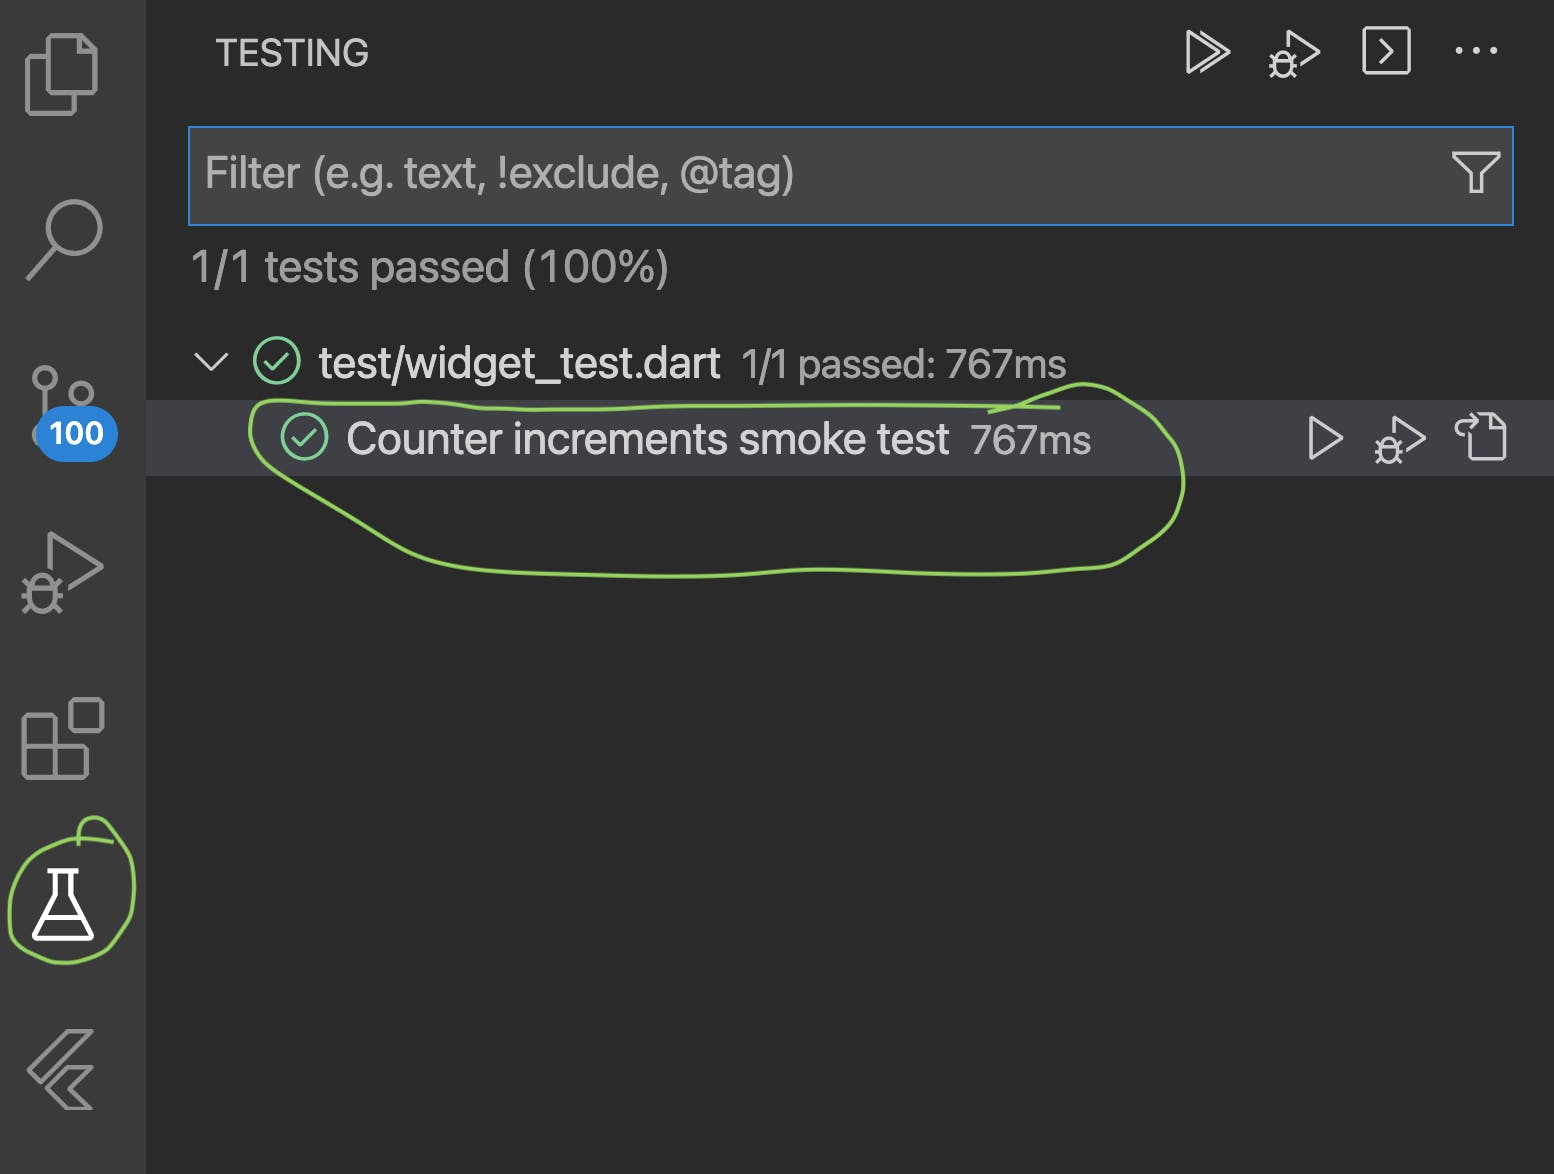
This is the out of the box widget test
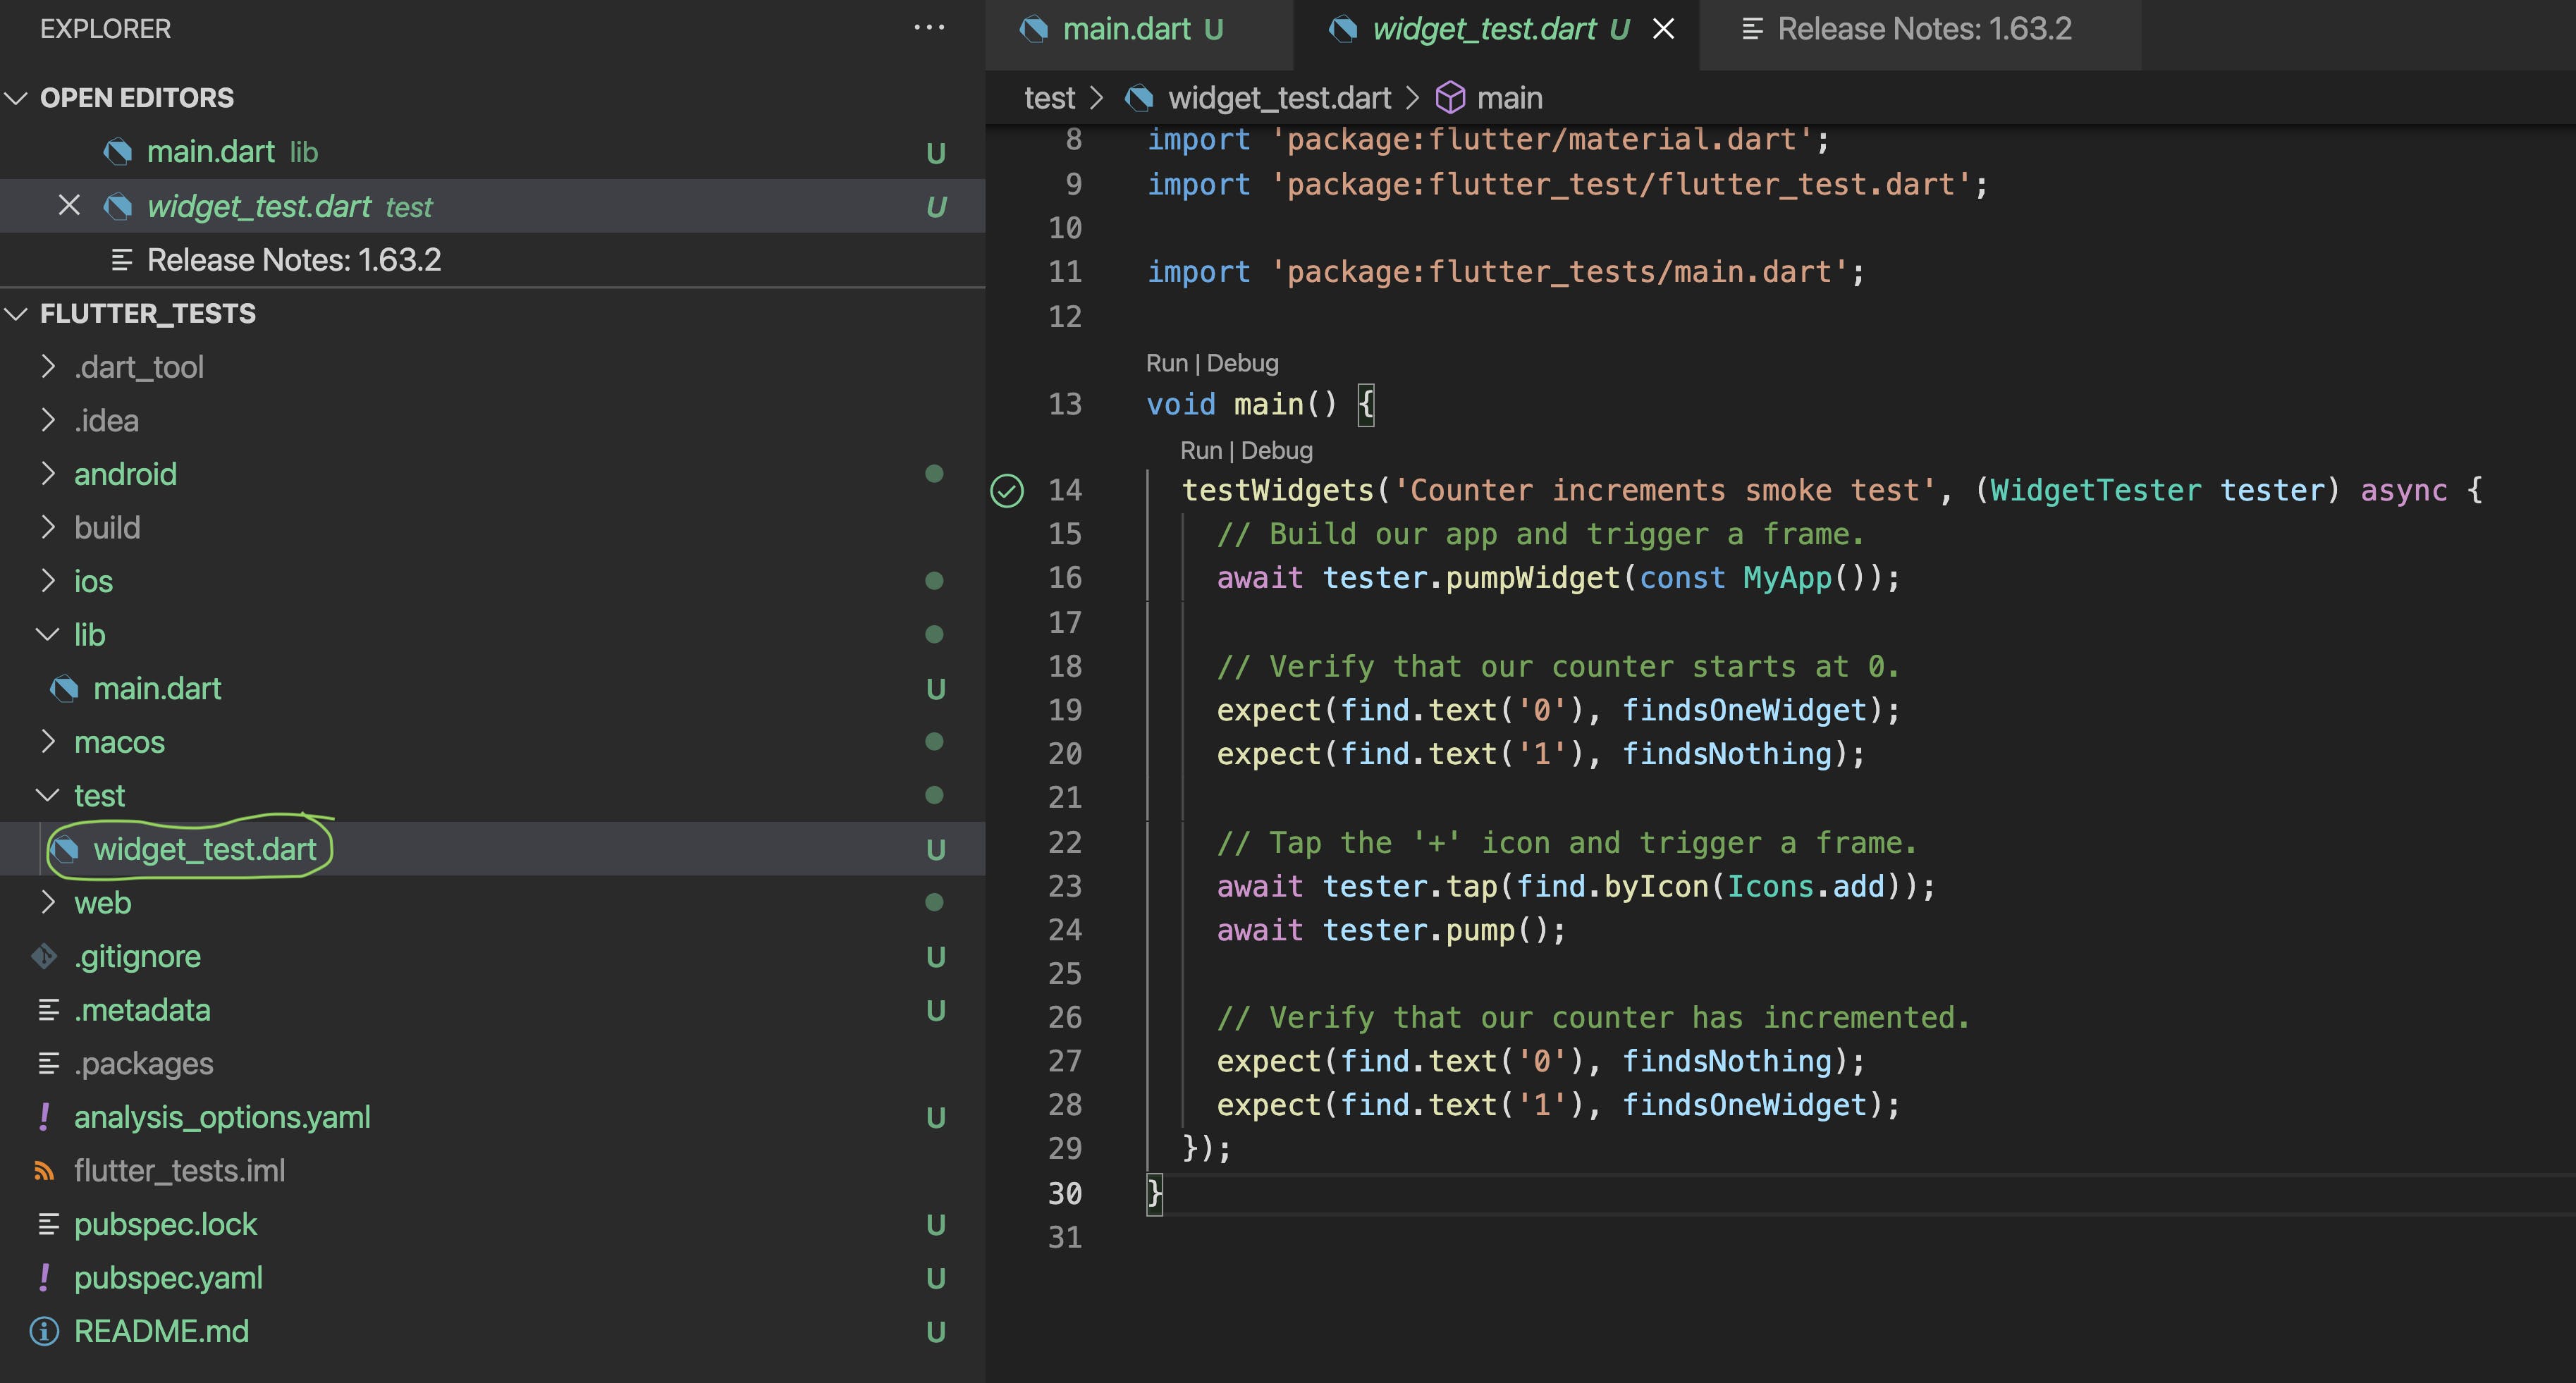
You can run or debug the test here. You will notice that the test doesn’t deploy to a device or show anything in a window. That’s the difference between a widget test and an integration test.
2. Add Integration Testing to the Project
Change the pubspec.yaml to include integration testing
dev_dependencies:
  flutter_test:
    sdk: flutter
  integration_test:
    sdk: flutter
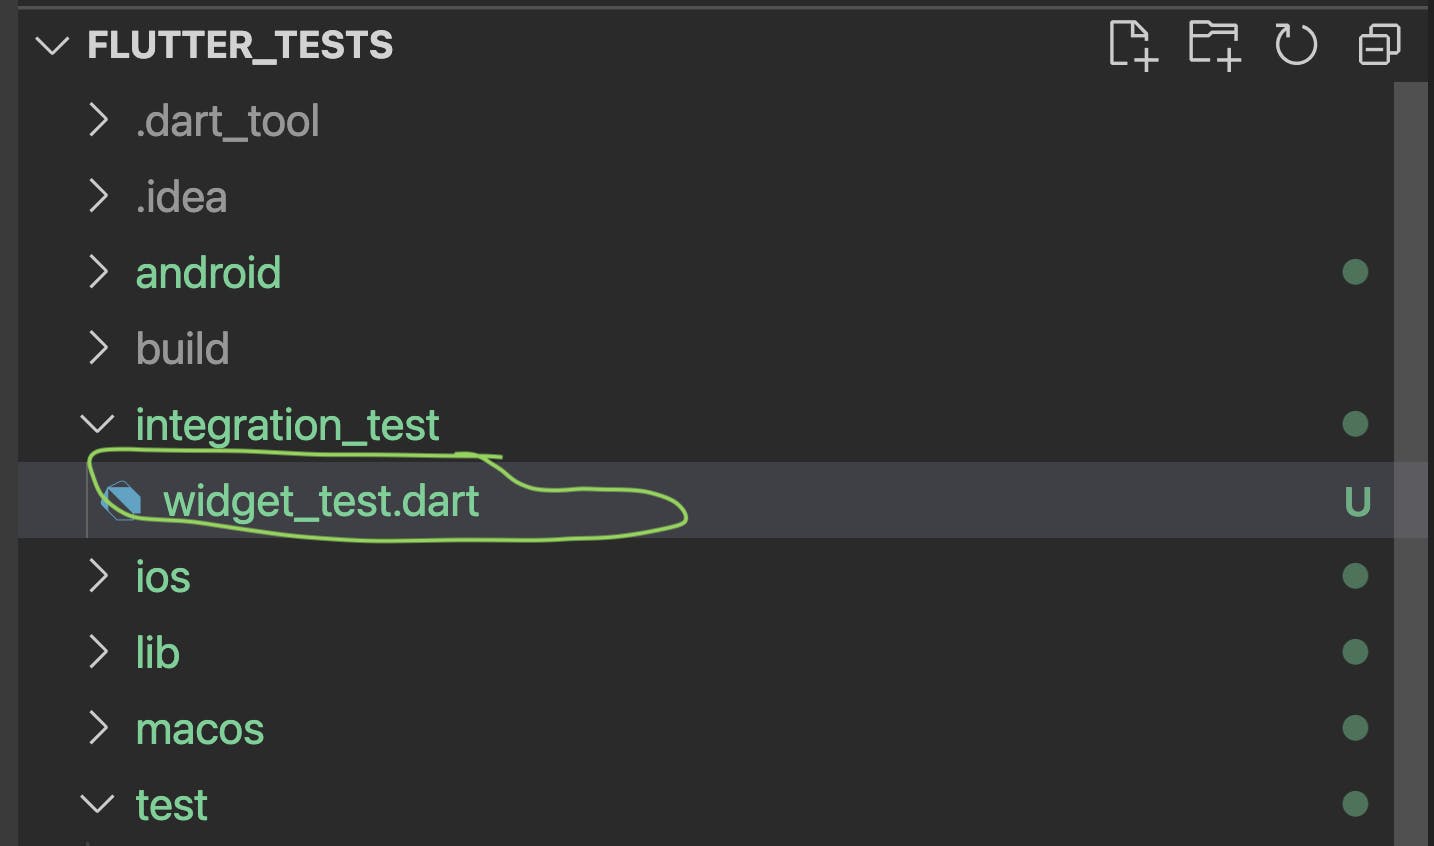
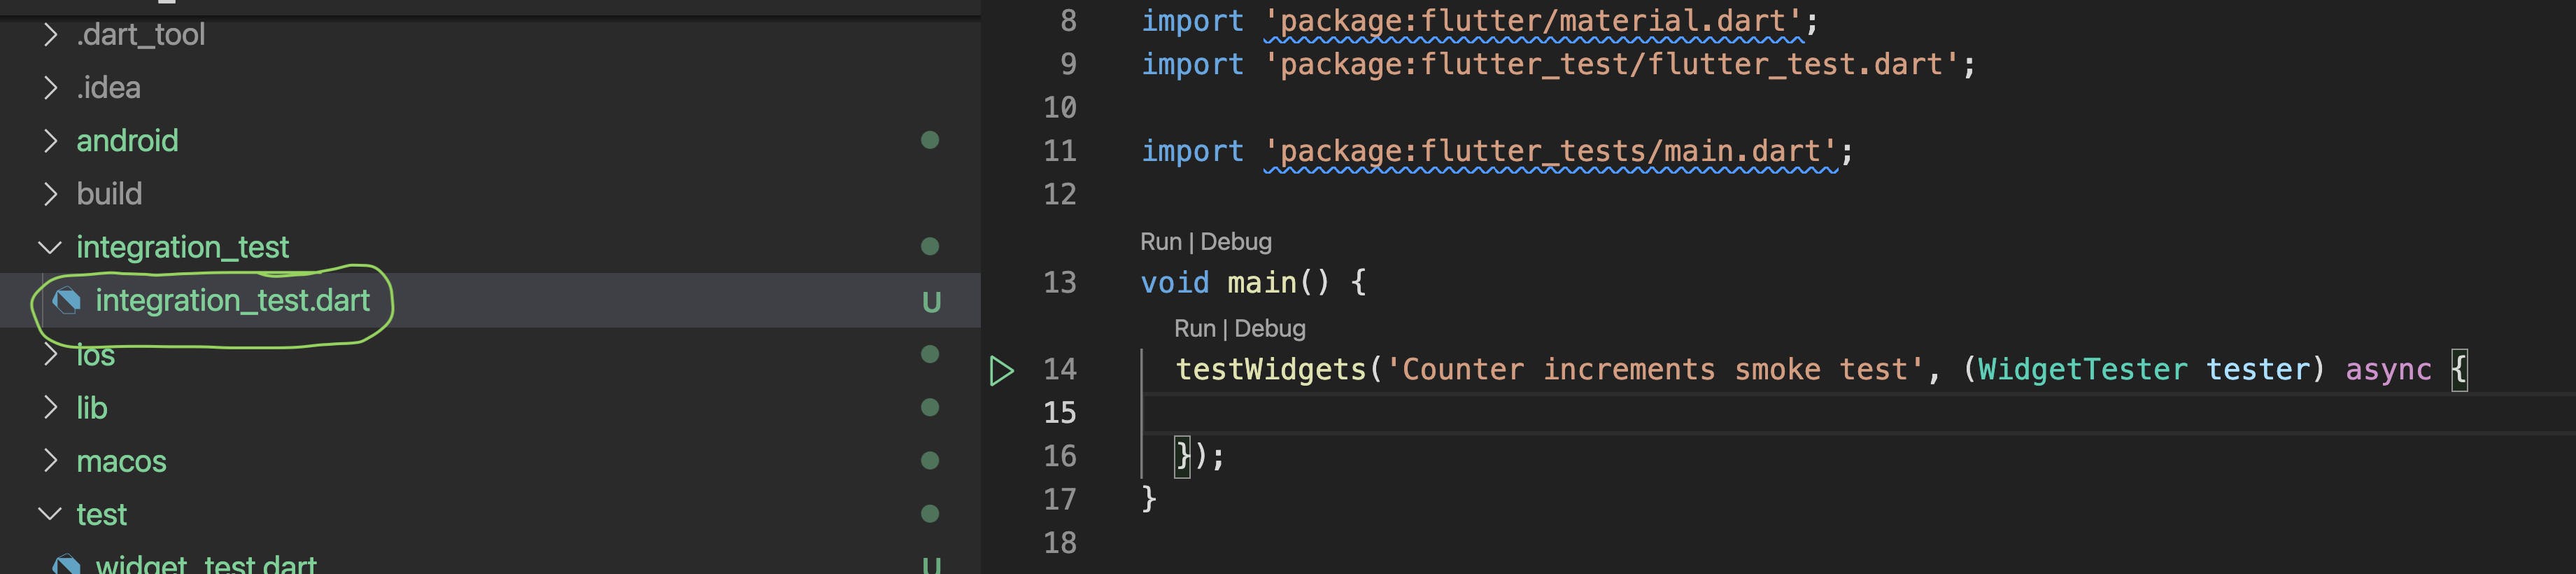
3. Create the integration_test folder
Flutter picks up integration tests in the integration_test folder. So, create the folder and copy the existing widget test file into the folder.
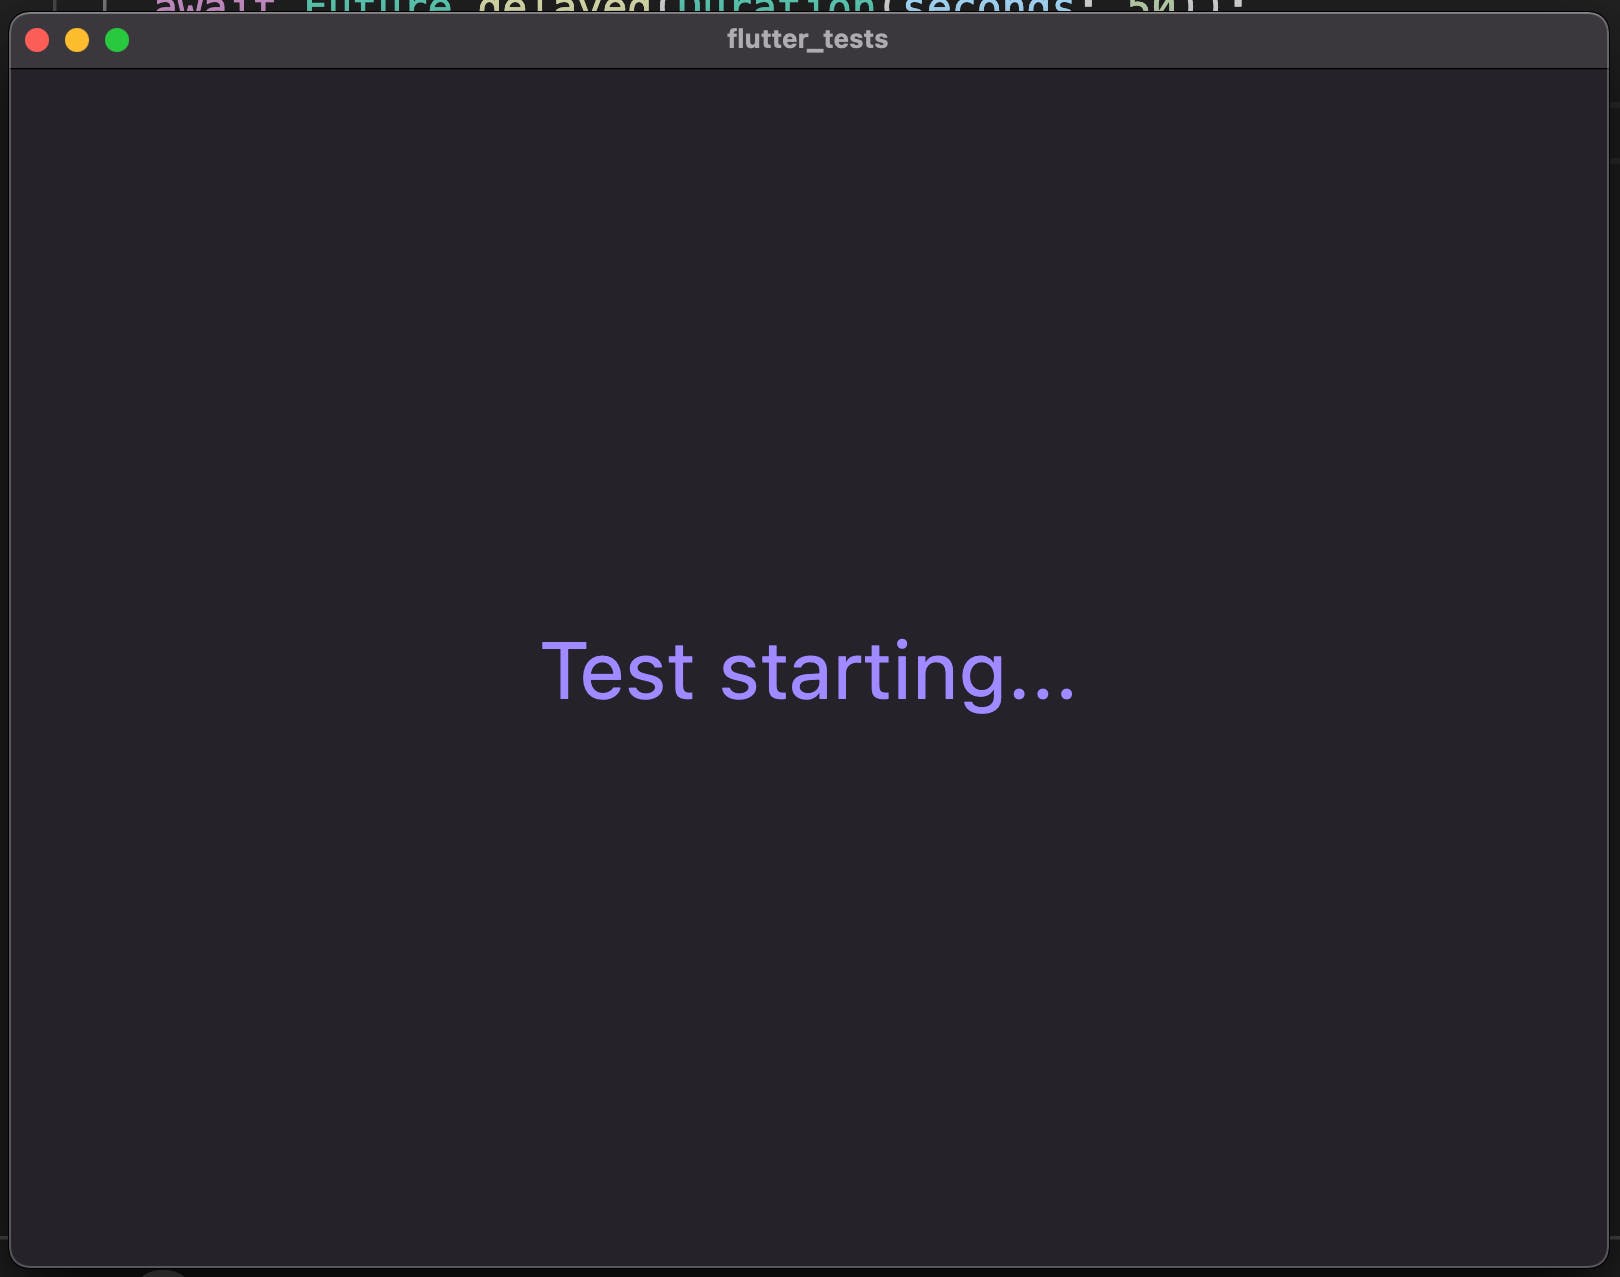
You can run the integration test. You should see the app pop and disappear

Run flutter test integration_test at the terminal to choose the platform.

-
Share The Code
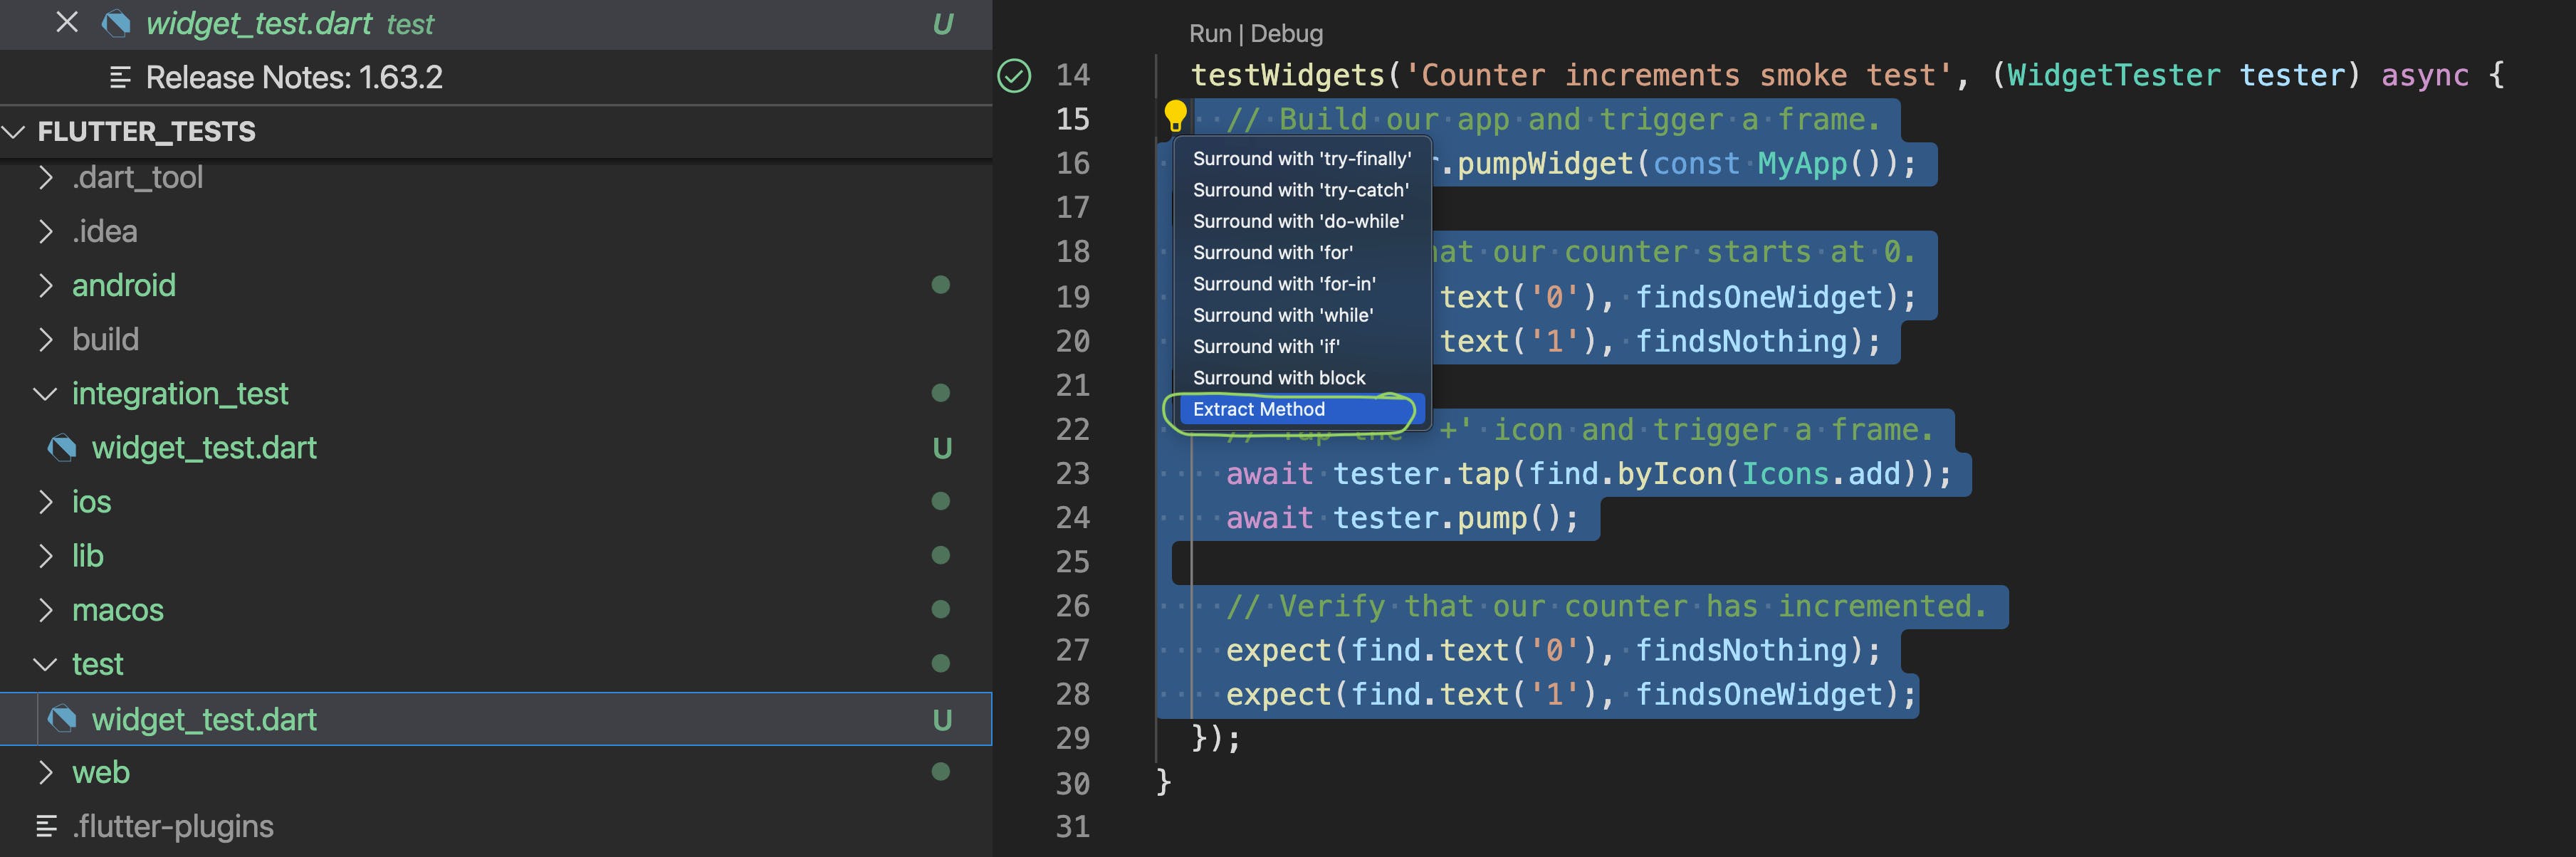
You’ve ended up with a duplicate test file. All you need to do is make the test function in the original file public and then point to that from your integration test.
Highlight the test code and refactor it into a new method. Call it sharedTest
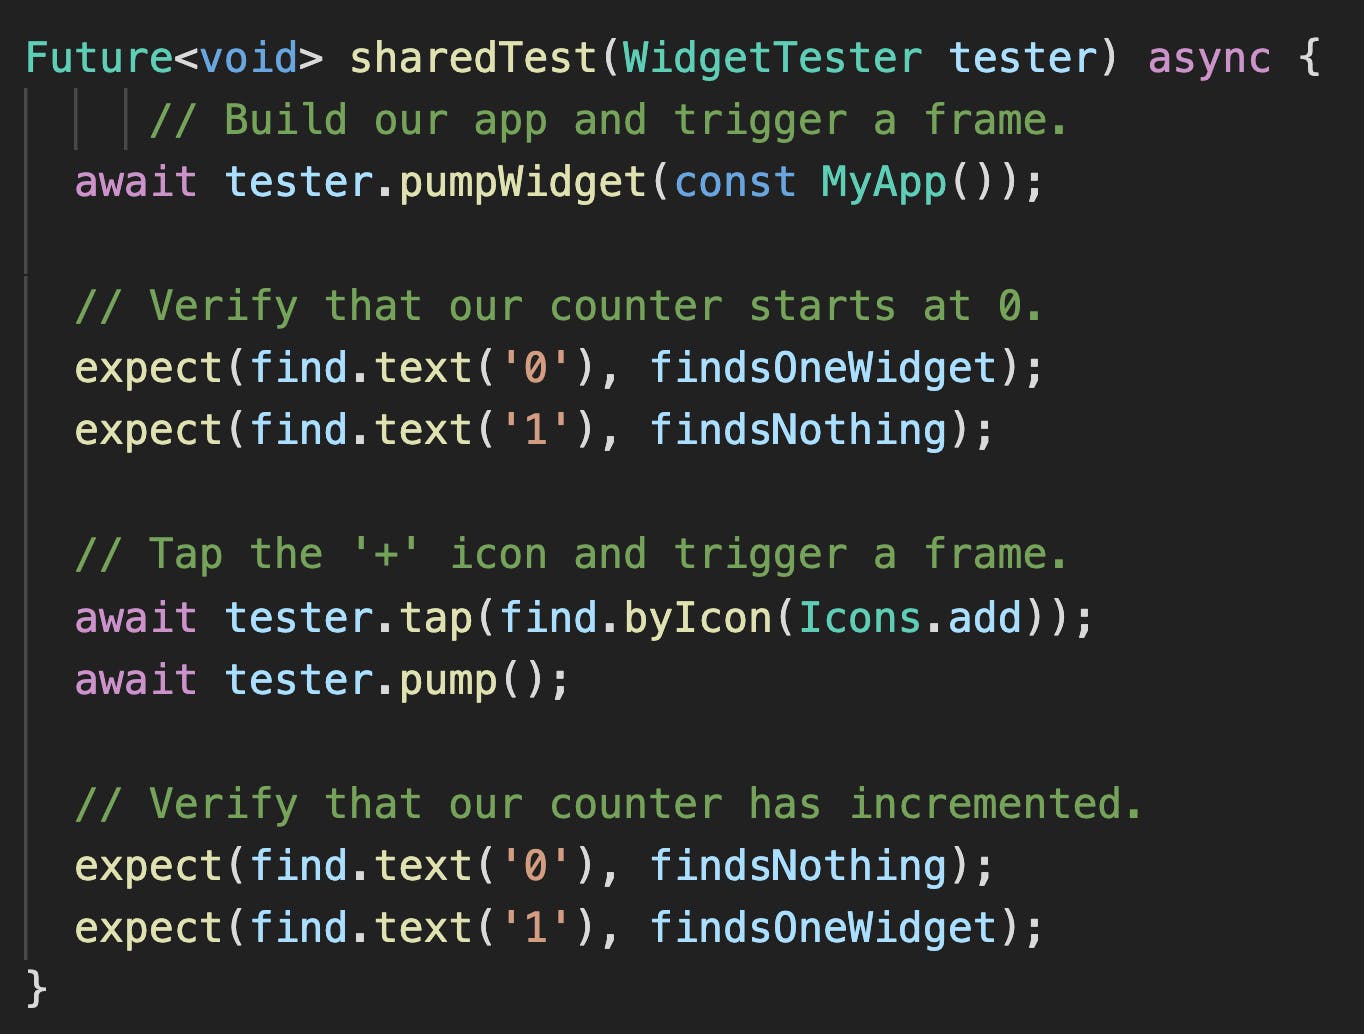
Rename this file and delete the test code
Add an import to the original widget test and call the shared test method from the widget test file.
import 'package:flutter/material.dart';
import 'package:flutter_test/flutter_test.dart';

import 'package:flutter_tests/main.dart';

import '../test/widget_test.dart';

void main() {
  testWidgets('Counter increments smoke test', (WidgetTester tester) async {
    await sharedTest(tester);
  });
}
Wrap-up
Now you can call your tests as widget tests or full integration tests. There is no reason to create two sets of tests. Run the tests as widget tests when you want a quick result. Run them as integration tests on multiple platforms in the pipelines to protect the main branch from bugs. You will probably want to test with multiple screen sizes and multiple platforms. I hope to write another article on how to set this up with GitHub actions.