Visual Studio - Break On All Exceptions
 Christian Findlay
July 14, 2019
4 min read
Christian Findlay
July 14, 2019
4 min read

An app should throw exceptions when something exceptional happens. However, developers should design apps and APIs so that under regular use, exceptions do not occur. Exceptions are an excellent way to tell the debugger or logging tools that something went wrong. When debugging with the break on all exceptions feature is turned on, it is possible to get information about what went wrong immediately. However, by default, Visual Studio projects don’t have this feature turned on. This article is a guide on how to turn on and use this feature.
Exceptions carry a stack trace with them, so they can provide a wealth of information about where the Exception arose from and why. Breaking in the debugger on all exceptions can help to diagnose issues at the source. This guide targets Visual Studio on Windows, but the feature is very similar to the same feature on Visual Studio for Mac. This feature has existed for most of the life of Visual Studio, so it should work on any Windows version.
Note: let’s not get too caught up on the semantics of “apps and APIs should be designed so that under normal use, exceptions do not occur”. It just means that if all is well, the app shouldn’t throw exceptions.
Watch the tutorial for Visual Studio on Mac
Exception Handling
You should acquaint yourself with Exception handling in C# first and foremost. Microsoft has a best practices guide that is also very useful. As a general rule, it is a good idea to always debug with break on all exceptions turned on. It means that if anything in the app goes wrong, there is an immediate alert at the point of failure. There is a general programming principle behind this called fail fast. However, to use break on all exceptions, the app’s code should never throw exceptions under normal circumstances. If the code does so, the debugging flow is interrupted. Also, Exceptions are costly operations.
Turn it On
On Windows, Debug -> Windows -> Exceptions Settings

The window appears like so. “Common Language Runtime Exceptions” is the section we are interested in for C# and .NET.
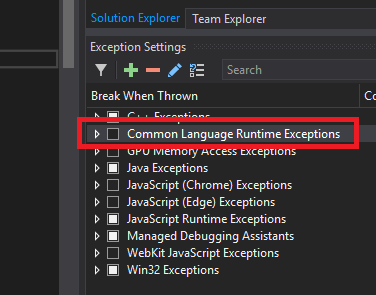
Note: Mac instructions are coming
Clicking this twice results in a tick for all Exception types. If this checkbox is checked, this means that Break on All Exceptions is turned on. The debugger always breaks whenever the code throws an exception. It looks like this when the node is expanded.

Example
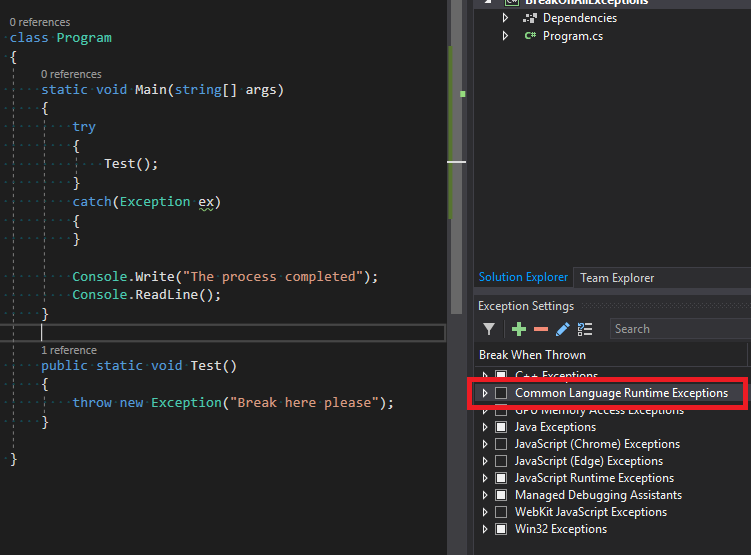
Break On All Exceptions turned Off
In this example, the feature is not turned on. The app executes and completes without the debugger displaying any information about the Exception thrown. It essentially means that the debugger ignores Exception information.
Note: production code should always log exceptions in some way
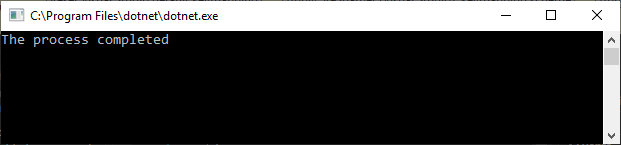
The output
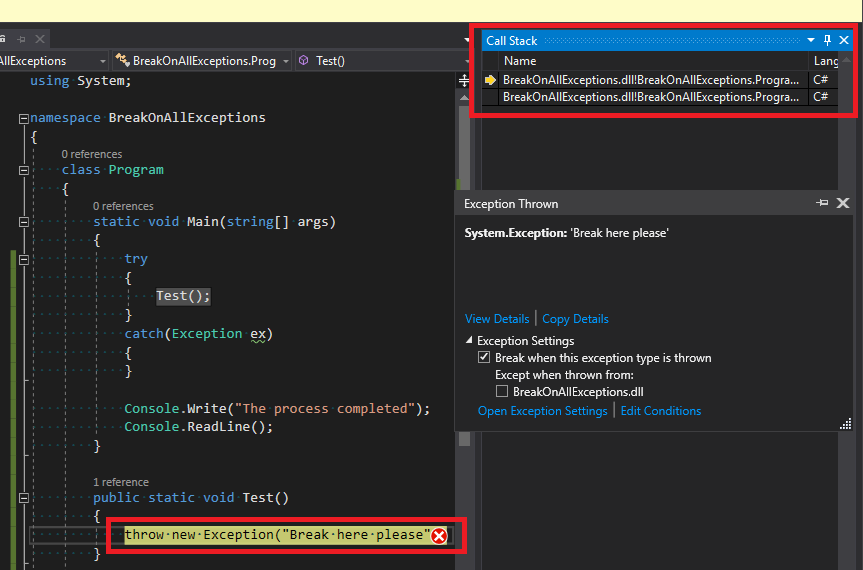
Break On All Exceptions turned On
If we turn break on all exceptions on and rerun the example, this is what happens. The debugger stops at the source of the Exception, and the IDE can rewind the Call Stack. If the app is well-designed, it is possible to debug like this in all scenarios.
More Information
- If the app throws too many exceptions, it is sometimes still possible to turn on breaking for most Exception types. Just turn off the ones that are causing issues with the checkbox.
- It’s typically preferable to debug with “Just My Code” turned on. It is the default setting in Visual Studio
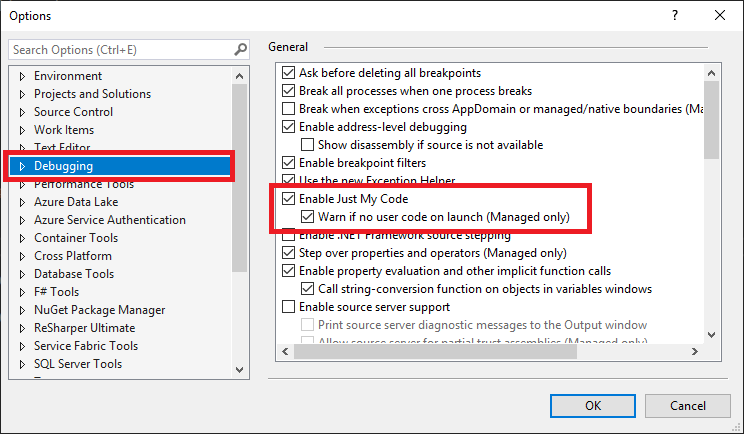
It means that Exceptions are only caught in the debugger when the code from the project being debugged throws them or, the underlying code is throwing an Exception that is not being suppressed by a try/catch. Turning this off is often useful for getting details about Exceptions in the underlying code, but it usually ends up disrupting the typical debugging experience.
- The IDE does not store Exception settings in the csproj file because they are user settings. Most development teams don’t store this in the Git repo. Therefore, the settings are lost when Git clones a repo, or Git performs a clean. It’s essential to communicate with your team members about Exception handling and debugging thereof.
Conclusion
Take Exception handling into account when designing code. If done well, it makes debugging easier. If done poorly, it slows down your application and makes it challenging to find the source of issues. If turning on break on all exceptions is possible, it allows the source of Exceptions to be found immediately rather than trace back what happened after the fact.
Note: this article has been edited for clarity